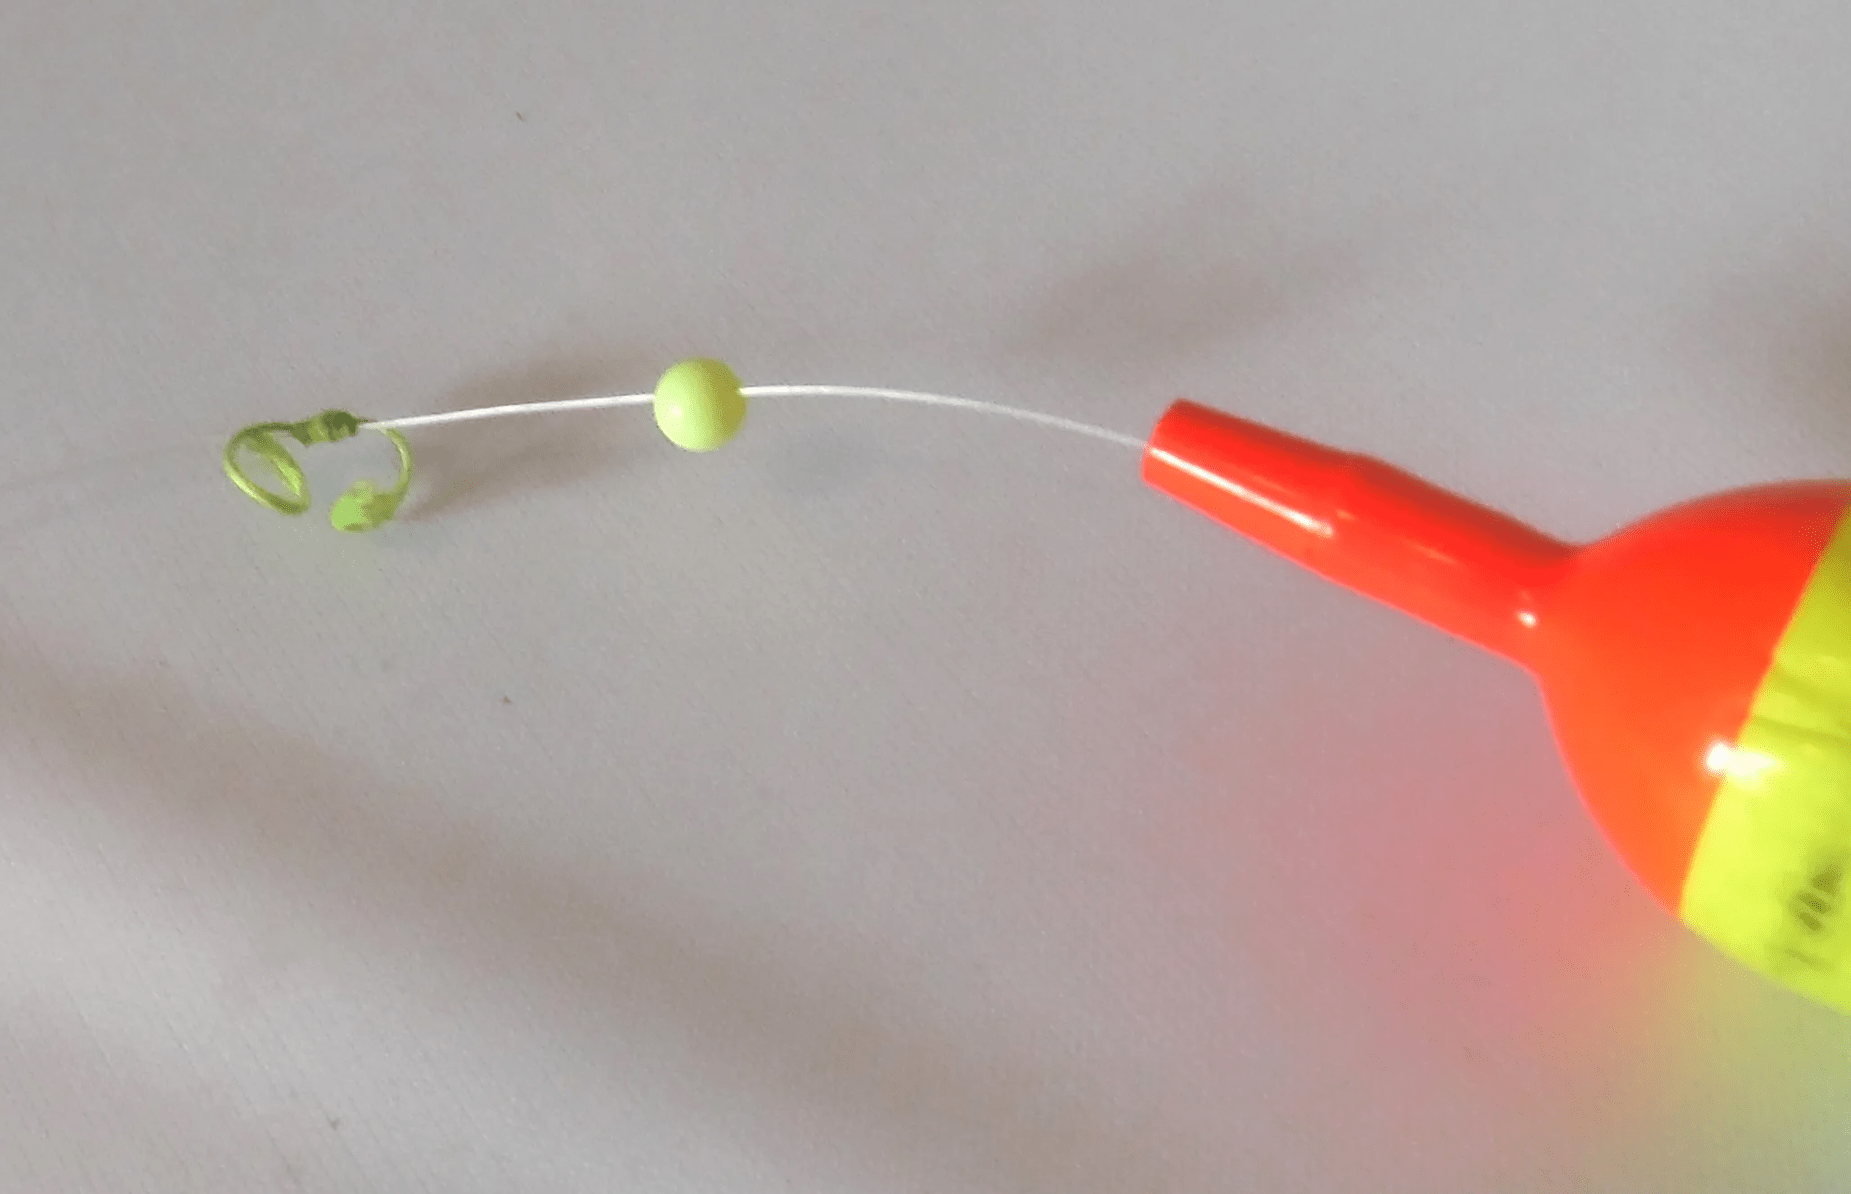
Set It Up, Knock ‘Em Down. A classic stop-bead-bobber setup will help remind those new to slip floating and help deploy baits at various depths to catch more fish; spring, summer and all year round. Simonson Photo
By Nick Simonson
The problem with the clip-on red-and-white bobber is that it is synonymous with nearly every image of fishing held by the general public, when there is a much more effective float setup that accounts for more, bigger and certainly more varied species of fish not only in spring, but all around the angling calendar. However, instead of focusing on the limiting factors of the classic bobbers that highlight those younger days spent at the bottom of the fishing learning curve that every angler looks back on, the focus today is on the better option available for all anglers, young and old alike: the slip float. The slip float, while only slightly more complex in its setup, is far more versatile, effective, and ultimately more attractive option to both anglers and fish.
Slip It On
The simple rule of “bobber stop-bead-bobber” is an easy reminder of how the components of a slip float rig set up on the line. Start the rig by threading onto the line the tube which holds a yarn bobber stop. Then slide the bobber stop off the tube and onto the line in the direction of the reel. Once the stop is off the plastic holder, slide the tube off the line and throw it away. Tighten the bobber stop onto the line by pulling firmly on the two ends of the thread, so that the coil locks in place. Next thread a small bead onto the line to serve as the brace between the stop and the slip float. Finish the trio off by running the line through the top of the slip float’s spindle and out the bottom of the bobber. Secure everything on the line by gently pinching a split shot below the bobber and about 12 inches up from the bottom of the line. The pinch on weight can be removed or repositioned later and is just to keep everything from sliding off and having to repeat the process.
Business End
To complete the rig, tie on a chosen hook or jig. There are many options that can be fished under a slip float for all sorts of species. An octopus hook in size 2 or 4 works well for walleyes, and smaller hooks like the size 6 will do the trick for crappies when suspending live bait like minnows for these predators. Adjust the position and the amount of split shot above the hook to dictate the motion of the baitfish dangling below. Generally, split shot placed closer to a hooked minnow give it less freedom of motion, and more weight will also hold it in place better but be careful not to overdo it and pull the slip float below the surface with the added weight. Adjust the depth of the presentation by sliding the bobber stop up and down the line, moving it toward the hook for shallower presentations, and away from the hook for deeper fishing.
Multispecies Options
When fishing for panfish under a slip float, a small jig (1/16 or 1/32 ounce) with a pinch of crawler will connect kids with sunnies and perch or use a long-shanked Aberdeen hook to help with removal and prevent gut-hooking of fish to be released. Slip float rigs are often unsung heroes for bass as well. In late summer and early fall, suspend a small krystal flash jig under a slip float for smallmouth bass along steep breaks, and let a light breeze provide the flickering action that bronzebacks can’t resist in what’s come to be known as the float-n-fly rig, a go-to for autumn fishing. For their green cousins, rig a Senko or other soft plastic stick under a slip float wacky-style on a circle hook and fish it around structure or weed edges where bucketmouths lurk in summer. To give the bait its subtle action, simply pull up on the line and let it slowly fall back through the bobber to trigger fish, while moving it slowly from position to position along a high-percentage area. It’s a great way to get kids on big bass, and the circle hook will prevent most deep hooking or damage to gills and only requires the rod to be gently pulled back while reeling to set the hook.
Set It Up
Rods with a soft tip are ideal for slip float setups. This helps absorb some of the energy on the cast and provides an even hookset when sweeping back the rod when the slip float goes under. Most often, there’s no need to jerk or snap a hookset on a fish biting under a slip float, especially when plain hooks are being used. To set the hook when the float disappears, reel down until the weight of the fish can be felt and sweep the rod back firmly while continuing to bring in line. Longer rods make casting slip float rigs easier, so consider a setup that’s around 7 feet in length, with many anglers going even longer to make effective casts that don’t sling the bait off as the rig splashes down.
Slip floats are far and away the better bobber option for catching fish of all kinds at all depths. Getting these on young anglers’ lines (or yours) early on from the start of openwater and back to first ice, will help catch more fish in just about any situation that calls for a suspended minnow, leech or crawler. Experiment with the offerings at various depths and make this rig the staple in your tackle box, even if it’s not the first bobber everyone thinks of when their minds turn to fishing.
Simonson is the lead writer and editor of Dakota Edge Outdoors.
