
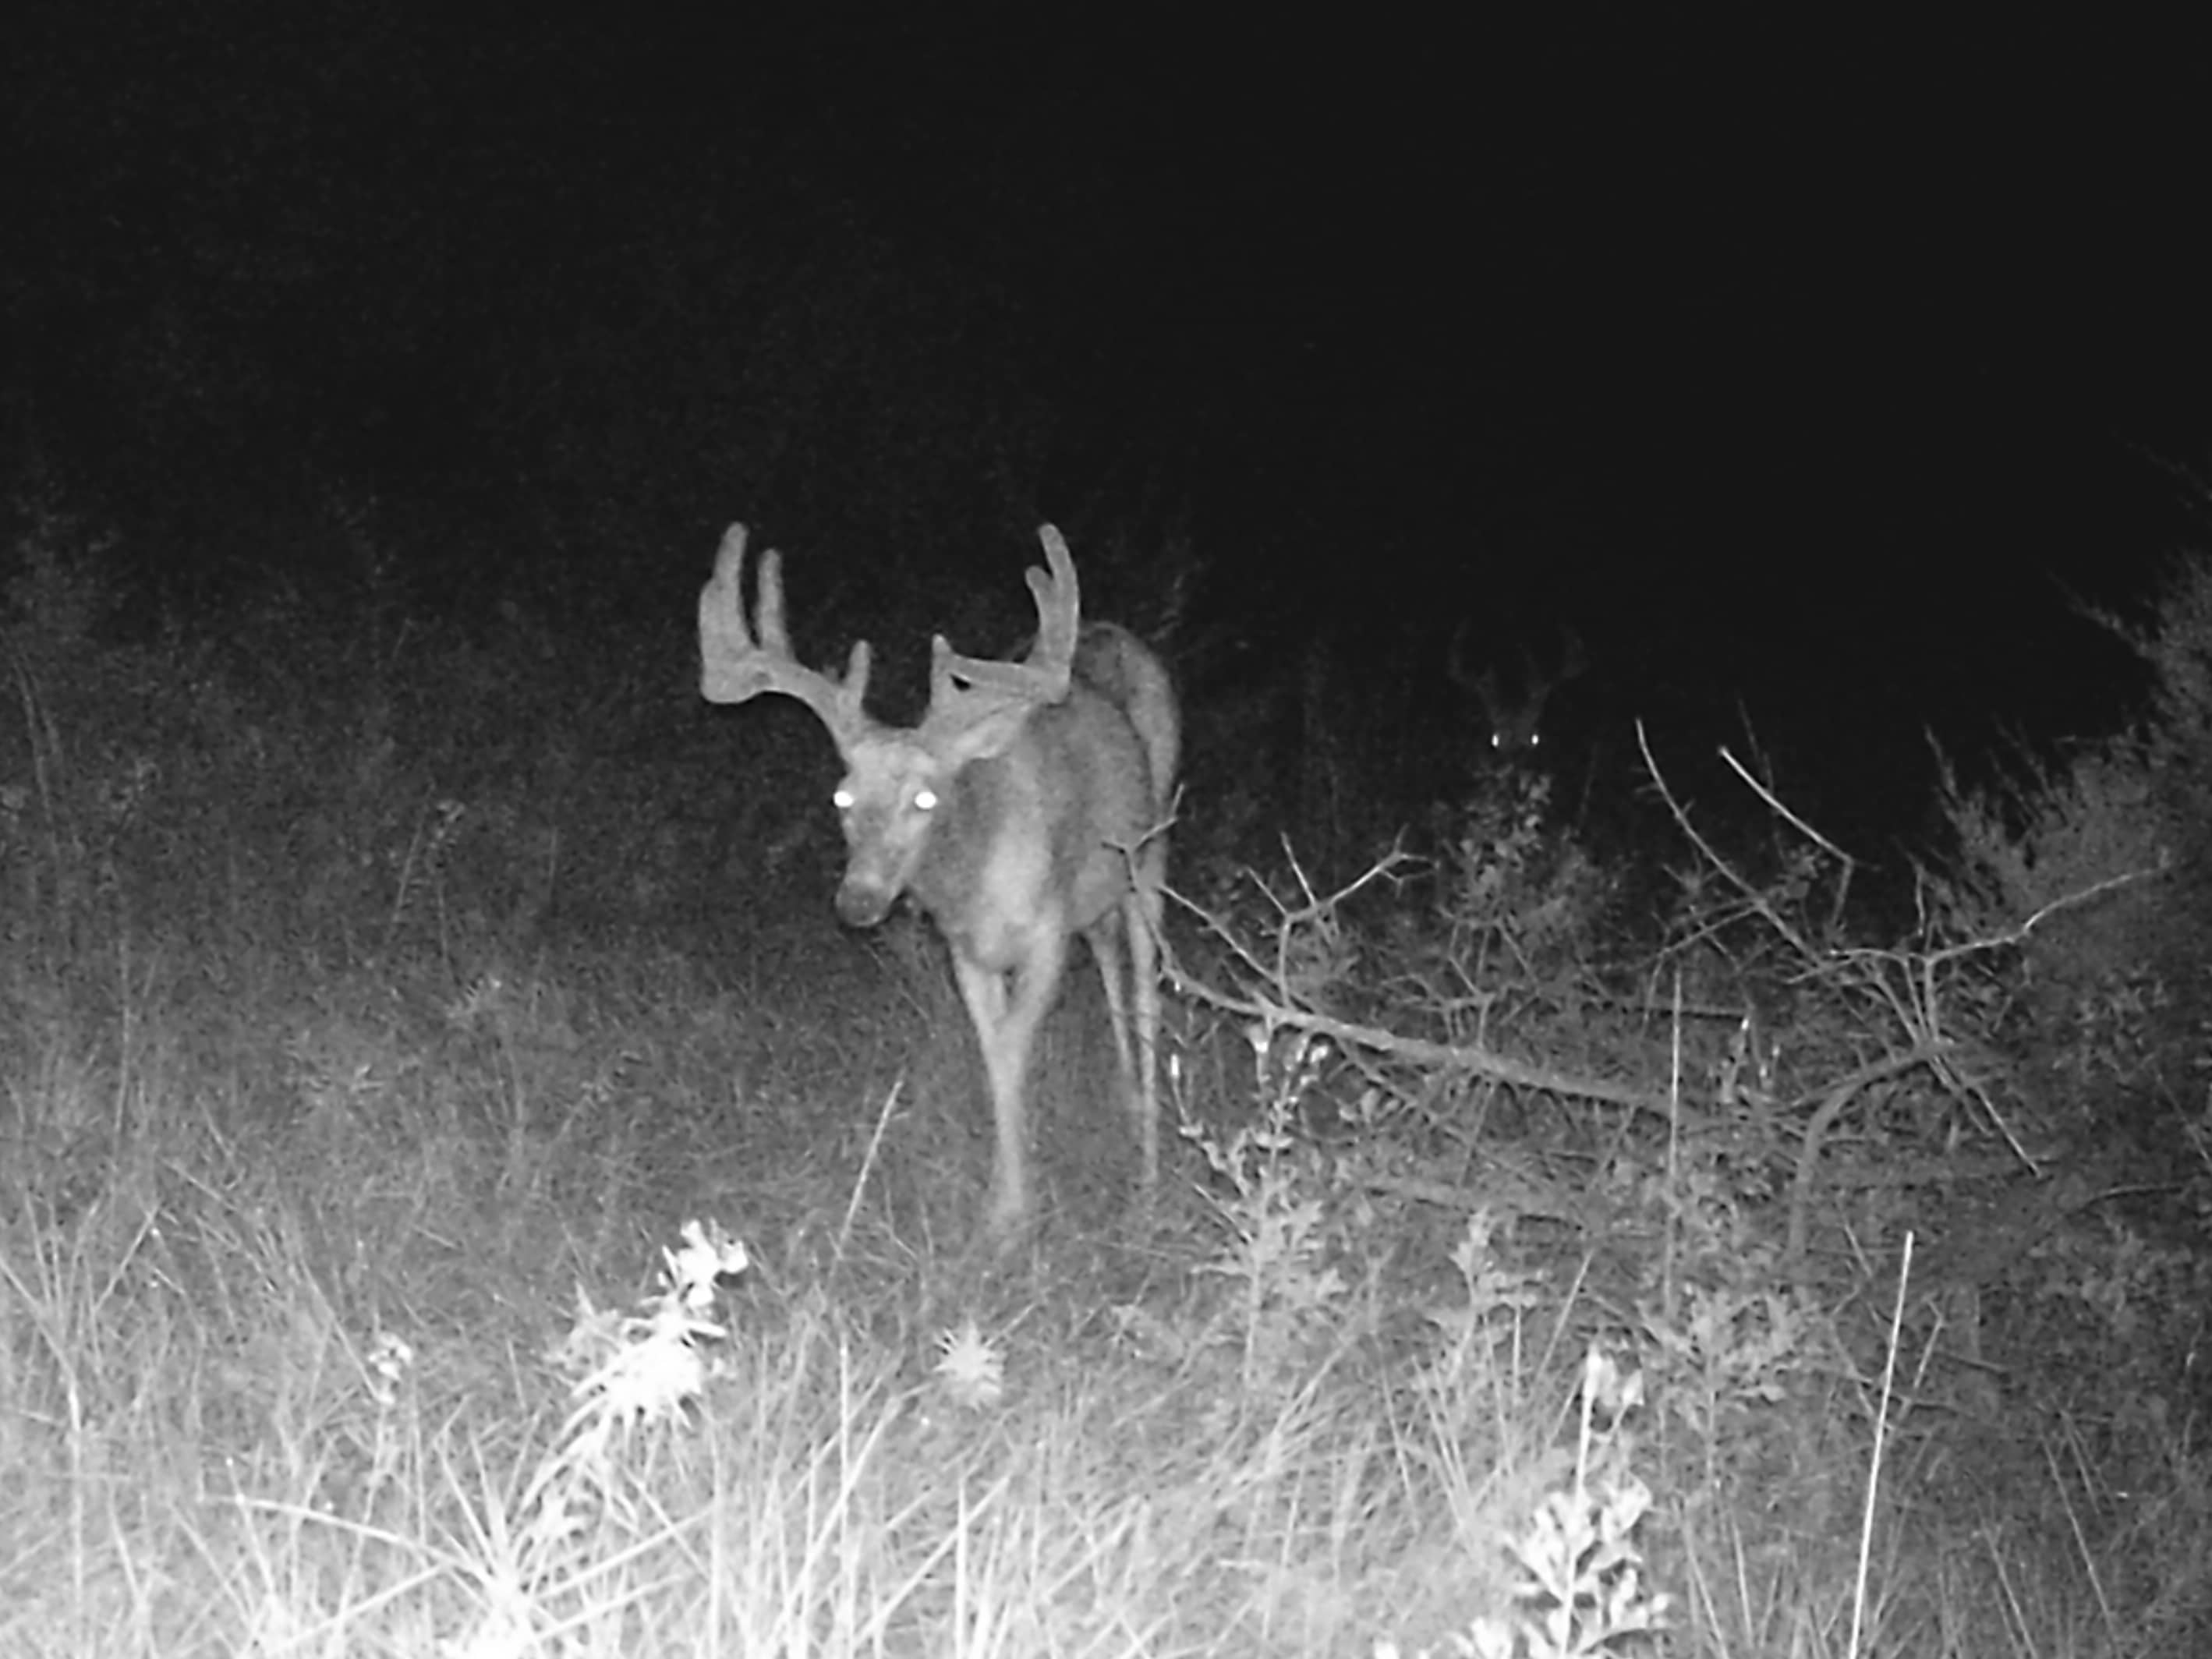
Two summer bucks on the move under the cover of darkness get caught on a well-placed trail camera. Simonson Photo.
By Nick Simonson
With the lottery application process wrapped for this fall’s firearms deer season, many hunters’ minds are already turning to the cool days of autumn, despite the confirmation from a warm, sweaty suggestion that summer has just started. In this time of preparation, no other tool is more important in the process of previewing what’s to come than the trail camera. With the right deployment and a few tips, and some considerations for a changing landscape, getting the best pictures of the herd to be hunted this fall will provide crucial information on patterns that lead to success.
Cam Knowledge
It is important for every hunter to understand how each model of trail camera works before setting foot in the field and hanging it on a chosen tree. Effective range, day and night shooting options, video and still photo settings and resolution can all impact the output on a given model make a difference between getting a blurry mess and big buck when the shutter goes click. Be certain to understand the settings on a given camera before heading out and try a few test shots in the backyard by walking past the trigger and lens at different speeds, so it’s clear what will come when photos are downloaded from an SD card for review.
Sensitivity and trigger delay are two major considerations when working with a new camera. Knowing if the surrounding vegetation in an area will set off the trigger can mean the difference between a memory card filled with a month’s worth of visiting deer or a day’s worth of grasses blowing in the wind. Additionally, understanding the sensitivity and the timing between when the motion sensor is tripped and when the shutter clicks provides a better idea as to where to set a trail camera up. If it’s a longer delay, consider a camera site that provides an angled view of the trail, or head on, so what comes into view and sets the device off stays in view when the picture is taken.
Direction Detection
With a basic understanding of a chosen camera, it’s important to know how to hang it. With the sun rising in the east and setting in the west at dawn and dusk, a north-facing camera is best with south-facing cameras being good too, up until the days begin to shorten. This positioning helps eliminate glare and prevent the early morning and evening rays from back-lighting any deer in the frame and washing them out, providing a better picture during those peak periods of activity around dawn and dusk when deer are on the move and most likely to be caught on camera. The north side of a tree helps provide the most shade as well, allowing for better pictures throughout the day, if deer are active in full light.
Hanging Out
Much like putting a stand out before the season, it is key to place a camera in an area on or near a trail where deer frequently come in and out. Attractants such as mineral licks can help bring them off a trail and linger in photo range as well, so give some consideration to that option and a possible move if the photos aren’t piling up by mid-summer. Try to center the portion of trail or the mineral lick in the middle of the camera’s angle and a suitable distance out, allowing for a fuller view of the bucks to be pursued this fall. The pictures provided will help with antler counting, body-size analysis, and even age estimates if practicing quality deer management in a certain hunting area.
Placing a camera in a location that provides access to it without disturbing a natural path or getting a bunch of unwanted human or household scent in the area is also vital to success, now and in the future. Treat each trip out to the camera to adjust position, swap memory cards or change batteries just like a trip to the deer stand. Be quiet, go when there is not a great deal of animal activity (such as mid-day) and practice scent control methods, just like during the hunt. The wisest bucks know when something is amiss and can carry that wariness into the season; steering clear of a hunting area for the next few weeks or even months if they detect something is off.
Regulators
This season, with the spread of chronic wasting disease (CWD) across North Dakota, and the changing regulations that vary from jurisdiction to jurisdiction and sometimes hunting unit to hunting unit, it is more important than ever to first, know what is legal when it comes to the use of attractants and bait and second, determine what is ethical. Be certain to be within the bounds of the law when it comes to utilizing and identifying trail cameras as required by statute and regulation with name, address, phone and identification numbers and the like, and be aware of any prohibitions on bait usage to attract deer to them when hunting throughout various states. Note that these requirements also likely vary between private land and public land in most states, and the latter often require timely placement and removal of trail cameras in a limited frame before and after the season. Finally, consider the communal usage of bait piles, such as corn or apples to attract deer to trail cameras, and the risk it presents of further spreading CWD.
With these ideas in mind, approach this stretch leading up to the season like that that of opening day, with good preparation and with plans to get the most out of every second and every shutter-snap of a trail camera setup, and doing it responsibly.
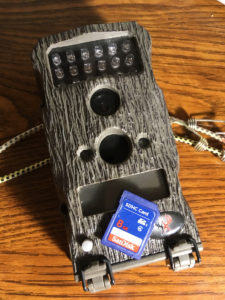
Having sufficient memory in an SD card for the settings on a specific model keep the photos coming all season, while a new set of mini-bungee cords secure the trail cam to the ideal tree. Simonson Photo.
Simonson is the lead writer and editor for Dakota Edge Outdoors.