
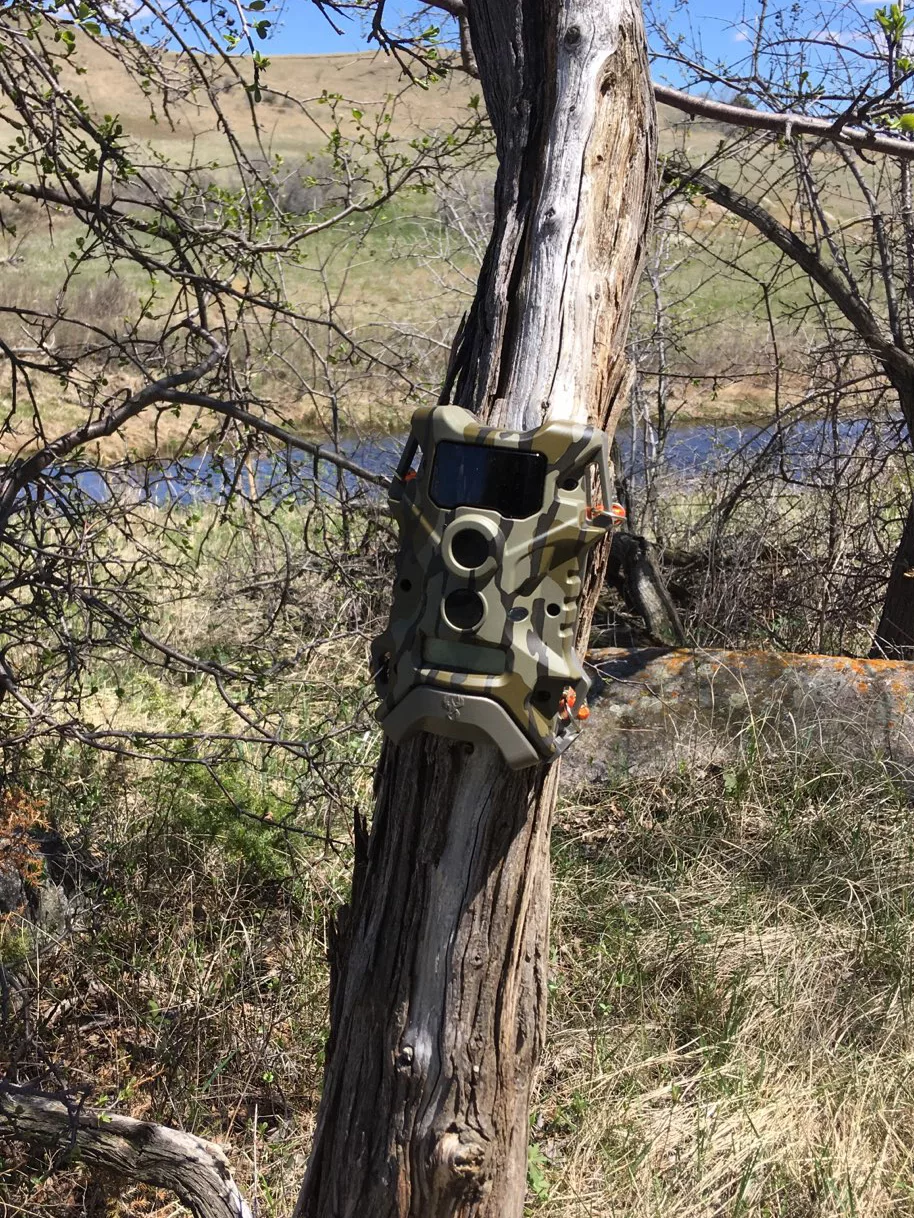
Hanging Up. Now is the time to deploy trail cameras and start taking stock of the deer herd in a hunting area. Knowing how each unit works and the best places to hang it will provide better photos and a strong idea as to where those big bucks will be come fall. Simonson Photo.
By Nick Simonson
The Memorial Day weekend and all its recognition of the past and celebration of a new season’s beginning has come and gone. In North Dakota, the passing of that holiday and the start of June also correlate with the end of the firearms deer lottery application period. Now, hunters will anxiously await the results of that process for a few weeks and pensively plan for a chance to be in the field late next fall with their favorite rifle in tow. In the meantime, another summer season is underway, and that is the deployment of trail cameras to capture not only those bucks maturing through their velvet stages over the next couple of months, but to also get an idea how the herd is doing in a particular hunting area.
While it seems as simple as strapping a trail camera to any given tree in an area, there are slight tweaks and simple reminders that help maximize each photo which gets imprinted on the memory card within or sent to an inbox. What follows are just a few tips to get the most out of each click of the shutter and get a better idea as to what’s going on this summer with the deer moving in and about a particular hunting space.
High Traffic
In areas where baiting is banned, finding those high traffic areas that deer move through frequently is the first step in deciding where to deploy a trail camera. Even where attractants can be used, setting them out adjacent to these funnels is a good idea when trying to hold animals in view for a quick snap of the lens. With a little bootwork or some evening glassing of field edges, ravines and other travel corridors, places where trail cameras will work best become more evident. Remember to treat each scouting trip for those trails as a hunting trip – go scentless and go quietly so as to disrupt things as little as possible.
New Heights
Remember that deer are shorter than people. Typically, the biggest deer are four feet tall, maybe five if there’s a buck with an impressively large rack. Consider this when putting up a trail camera. On the tree, it likely shouldn’t be eye level to you, but rather, a bit lower to capture deer at their level, unless of course there are varying levels in the landscape around the camera’s position which may affect the vertical location on a tree or post where the chosen model goes. Make sure the camera lens is centered on the trail and in that goldilocks area – not too high, nor too low on the trunk – to get the best photos.
Get Set
Knowing the settings on a camera before it’s deployed is vital to getting great photos. Can burst mode be employed? Is video desired? How many megapixels are wanted with each photo and based on the memory card’s capacity? These are all great basic things to have set up on a model and ready prior to hanging a trail camera. Advanced options include cellular cameras and their effective range in areas where service may not be as strong, and when the photos should be sent to a phone or email – at the time of taking, or in a batch from over a period of time. Know the ins and outs of each camera before hanging it up to get the best results.
Survey the Scene
Finally, even the most high-tech trail camera can’t capture what a hunter wants if it’s taking pictures of every gust of wind that moves the grass or trees around it. Make sure that the camera’s sensitivity is adjusted to that space, and trim back foliage and grass if its okay to do so and such activity won’t diminish the cover too greatly in the travel corridor. Often the first set of photos to come in will let one know whether the camera is too sensitive or if flora around it is setting it off frequently. 500 photos of blowing grass typically is a sign the camera or the surrounding area will need to be adjusted, so take some time at the outset to survey what in the environment could set the camera off.
Sun Up, Sun Down
Finally, deer activity often peaks at dusk and dawn, giving hunters a timeframe for their best photos in making a determination as to what deer will be in the area during the summer, and hopefully at the start of fall. Avoid facing a camera east or west if possible, as direct light from the rising or setting sun can either shadow out a moving deer, or wash it with too much light, making it hard to tell how many points are on that rack, or whether it’s even a buck versus a doe. Ideally, a north or south facing camera angle can be used to prevent the blurring of information by light from an otherwise perfect location.
As hopes for a gun tag go up along with trail cameras during the next few weeks, keep these tips in mind to get the best possible photos of the deer in a hunting area. Keying in on location, camera specifics, the scene behind each photo and how light will factor in can help provide information vital to utilizing a desired hunting area this fall.