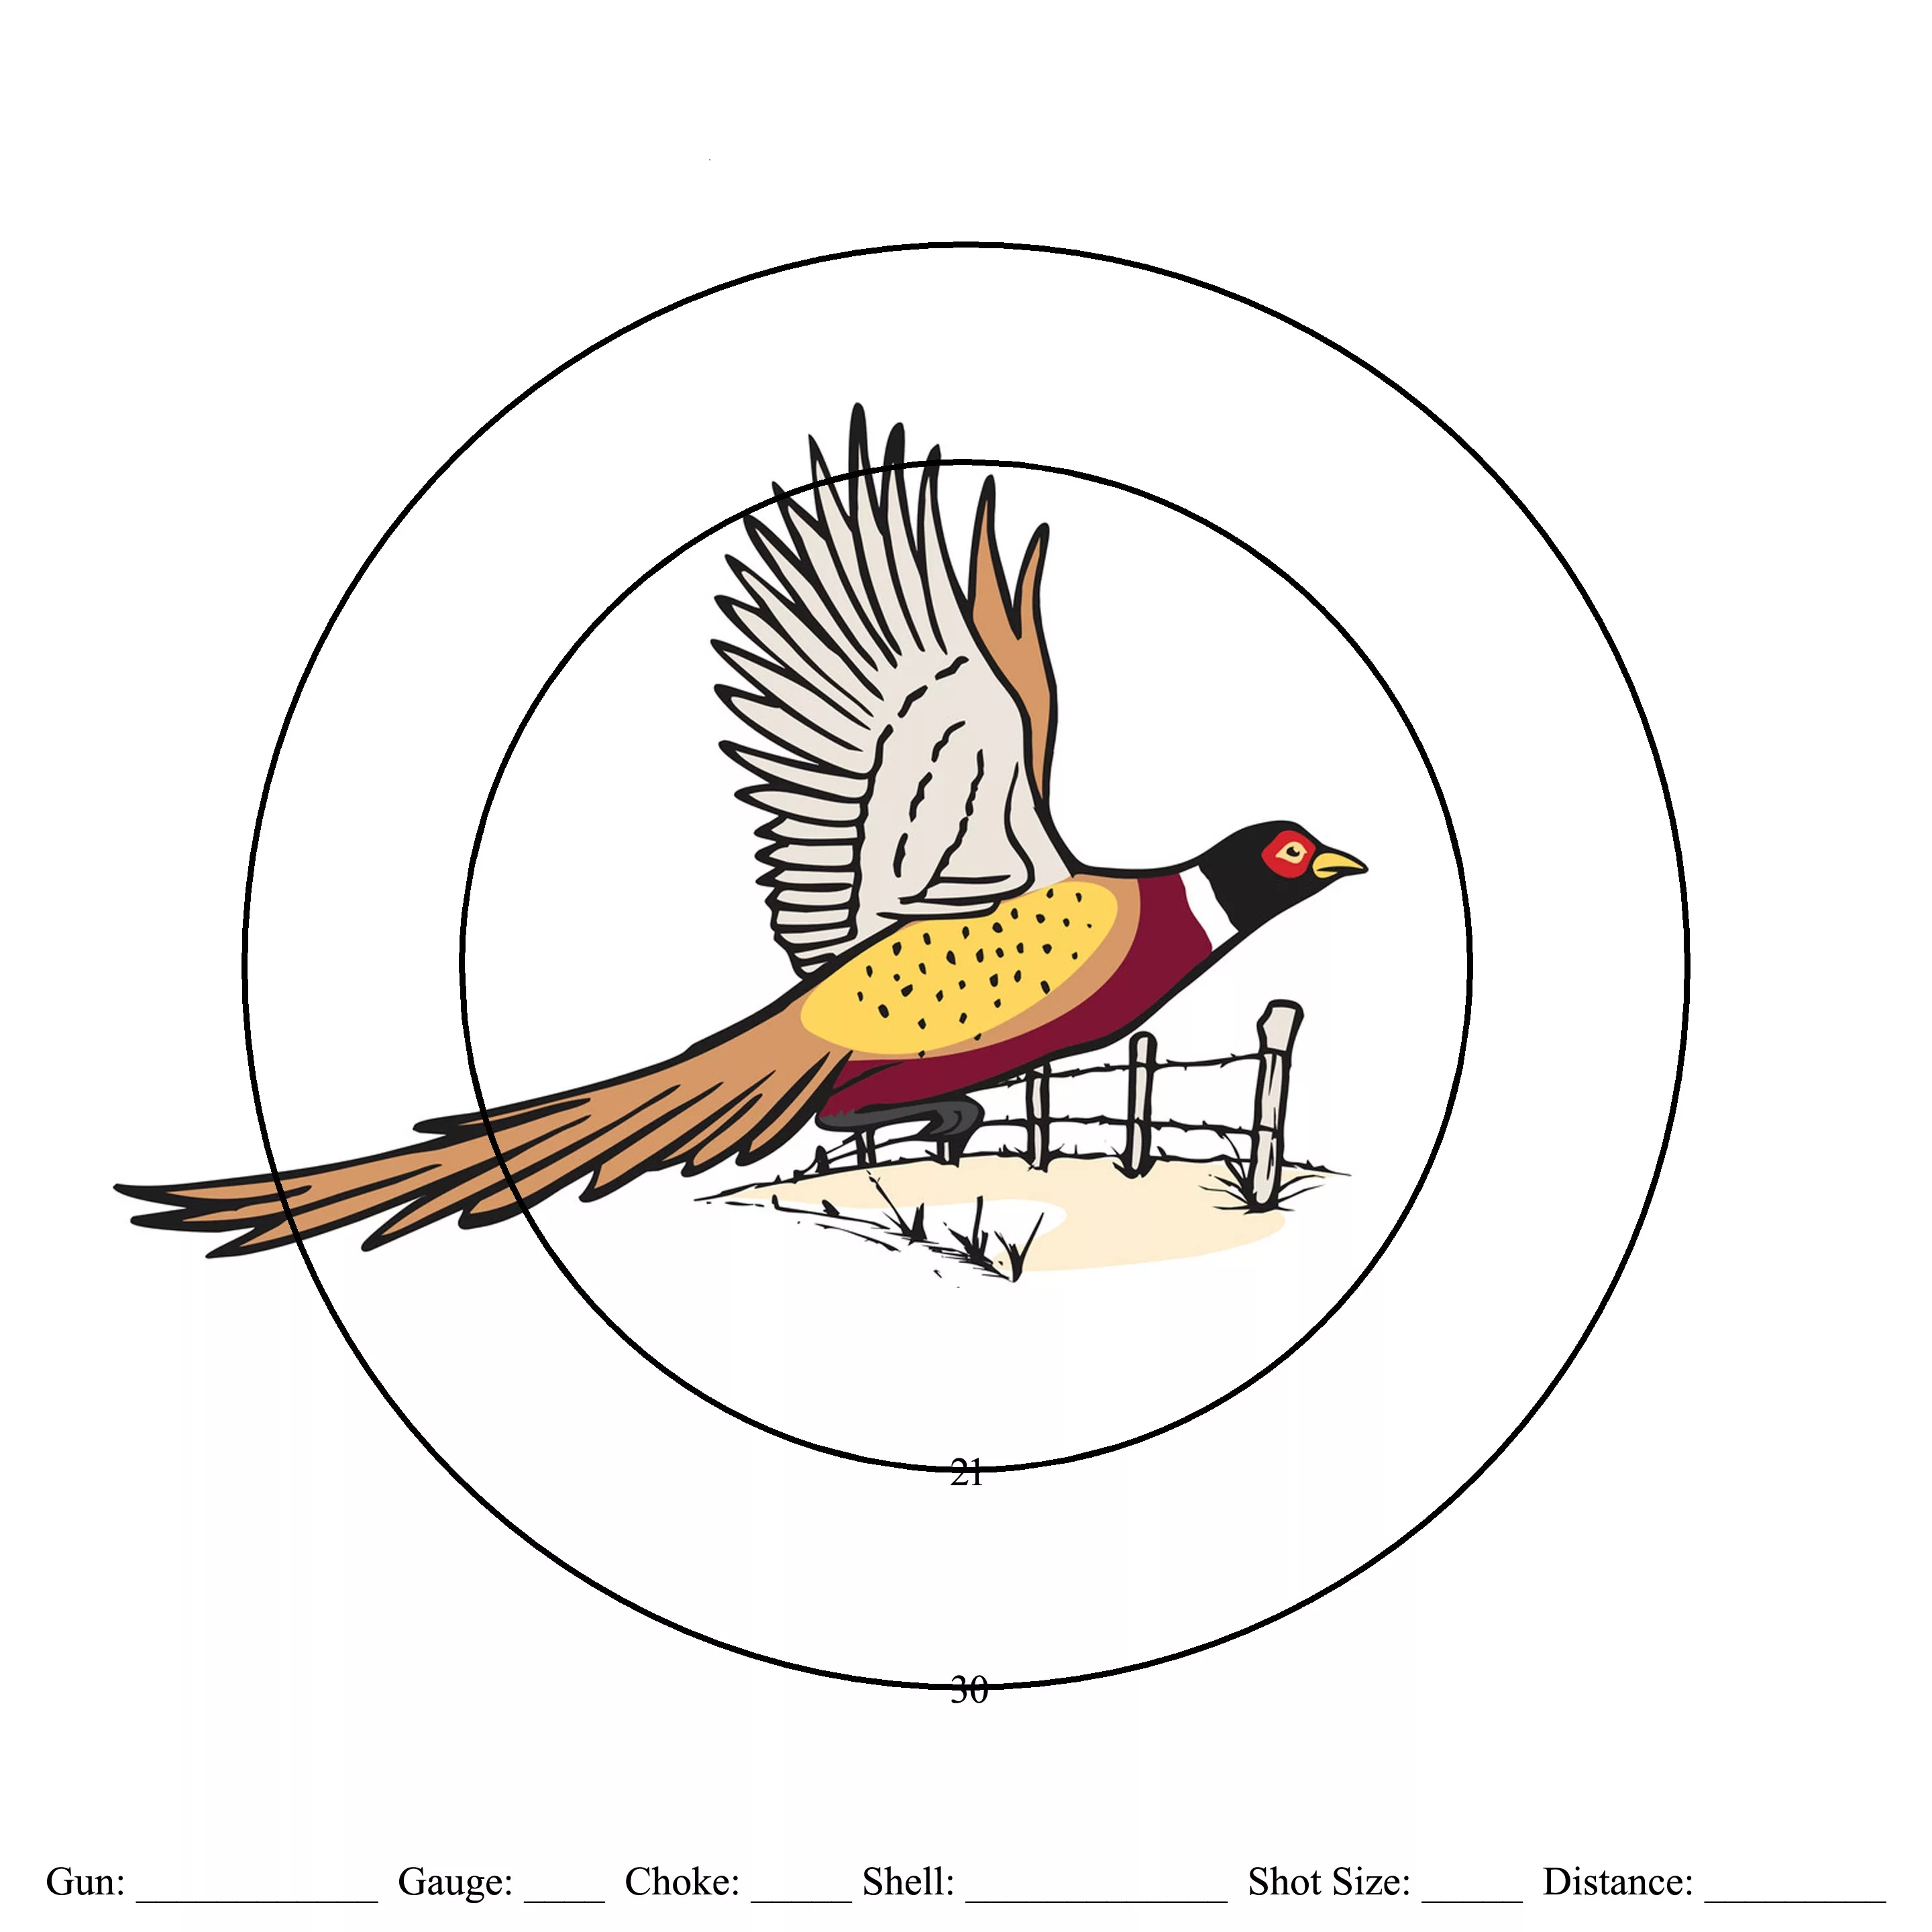
Computer-drafted patterning targets can be produced at a local print shop for your use, or simply draw a 30-inch circle on a large piece of packing paper and hang it at your local gun range to start the patterning process. Simonson Image.
By Nick Simonson
With the first hunting seasons right around the corner, and a busy summer still in full swing headed for a collision course with autumn and all it brings, it’s tough to cram in all the things you want to do and have to do to get ready for those cool weather adventures in the outdoors. However, it’s easy to make the technical preparedness required ahead of the cool-weather shotgun seasons more fun, and in the process figure out just how your particular firearm is setting up for opening day for your favorite upland or waterfowl species.
Smack the Black
The first step in getting ready for fall hunting seasons is to pattern a shotgun and the load or loads you’ll be using. If you’ve stuck with the same pairings year-in-and-year-out, it’s likely that only a handful of shells are necessary to figure out just where your firearm is putting its pellets. However, if you’ve recently changed guns or upgraded to a new model, some time in front of the patterning board is a necessity, and the same holds true if you’re trying out the latest pheasant or goose-specific shells on the market.

Make it a point to see where those pellets are falling by hanging a large target – even just a big piece of paper with a circle on it – at your gun range’s patterning board, which often consists of classic black rubber matting hung between two posts with a solid wood-and-earth backstop behind it. A 30-inch circle with a visible target in the middle will help you set up your shot and provide reliable feedback for each shell used. You can purchase custom patterning prints or simply draw the center mark yourself on paper with a bright marker so it can be easily seen from 50 yards away or utilize stick-on rifle targets in the middle of the 30-inch circle.
Make the Moves
With the target or targets hung in place, fire one shell of the chosen load at each one from the varying distances you most often encounter birds. For close-flushing species like ruffed grouse, check the pattern at 10, 20 and 30 yards. For mid-range upland game like pheasants and sharptailed grouse, 20, 30 and 40 yards will suffice. Birds encountered at longer ranges, such as ducks and geese, might stretch the distance to 50 yards for patterns.
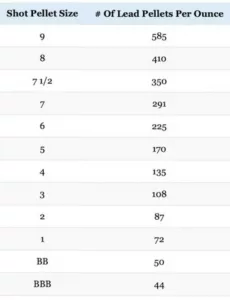
After the shot, open the breach of your gun and set it in a secure area, check to see the range is clear, and go down and inspect the target with a pen or marker in hand. For each pellet hole in the circle, mark it with a slash of ink and start tallying how many hit within the designated area. The total will give you an idea of how many pellets stayed in the pattern, and how many strayed. You can get a general idea of how many pellets are in each shell by looking up the load information on your particular load, or by using a general guide as to what standard shotgun shells contain for pellets per ounce. Divide the number of hits marked by the estimated total of pellets to get a relative understanding of the effectiveness of your gun, the load, and the choke being used.
Choose the Choke
If you find that the pattern is too tight or not tight enough, you can adjust the choke being used to either loosen or tighten the pellet cloud for your pursuit. Once a new choke is placed in the gun, repeat the process at varying distances to see how it impacts the spread of the pellets. For a side-by-side or over-under shotgun, you’ll have to repeat the process for both barrels to get a good understanding of how each one discharges. Typically, the first barrel fired has a tighter choke, and the second barrel is more open for a second shot at a bird that is moving away from you.
From there, transition to live-action options to see how effective your setup is. Utilize stations at
